How to Make a Roblox Thumbnail— screenshot to live image in five steps
A thumbnail is the only part of your game most players see before deciding. This walkthrough covers capture, typography, the official 1920×1080 spec — the numbers Roblox publishes in itstextures and decals documentation— and the upload itself, using a free browser editor that never asks for an account.
The short version: capture your gameplay → drop the screenshot into the Roblox thumbnail maker → type a headline of six words or fewer → pick a bold style → export 1920×1080 → upload it in Creator Dashboard (the exact path is in thethumbnail inserter guide). Ten minutes end to end.
Step 1 — Capture a moment, not a place
The single biggest difference between weak and strong thumbnails is whether anything is happening. A screenshot of an empty corridor tells a player nothing; the same corridor with a character mid-fall tells them there is a game here.
- ▸Shoot during movement — jumping, falling, mid-race.
- ▸Keep the subject in the middle third; the edges get cropped in some rails.
- ▸Capture at your display's native resolution. Downscaling is free, inventing pixels is not.
- ▸Hide in-game UI first — menus and health bars read as clutter at thumbnail size.
On Windows, Win+Shift+S grabs a region instantly. Every platform has an equivalent, and the file lands locally — no account, no upload.
Step 2 — Open the editor and drop the image in
Open the Roblox thumbnail maker on this site and drag your screenshot onto the upload area. The file is read by your browser and drawn onto a local canvas — it is never transmitted to a server, which is why there is no sign-up step and no upload progress bar.
If you have no screenshot yet, the tool starts on a plain gradient so you can compose text first and place the image underneath afterwards. Nothing you do here is saved after you close the tab, so export before you leave.
Step 3 — Write a headline that fits
At the width a thumbnail occupies in a discovery grid, readability runs out long before your editor does. Six words is a practical ceiling.
- Numbers — "Stage 40", "in 60 seconds"
- A single question — "Impossible Obby??"
- Verbs — Beat, Escape, Survive, Climb
- One clear subject per line
- Four lines of small text
- Full sentences with punctuation
- Thin light-weight fonts over busy art
- Abbreviations the audience won't decode
Pick a bold style preset rather than setting weight by hand. Every preset applies fill, outline, and drop shadow together — and the outline is what keeps the text readable when the background happens to be the same colour as the letters. The editor auto-shrinks the type if your headline is too long for the frame, so you never have to guess a font size.
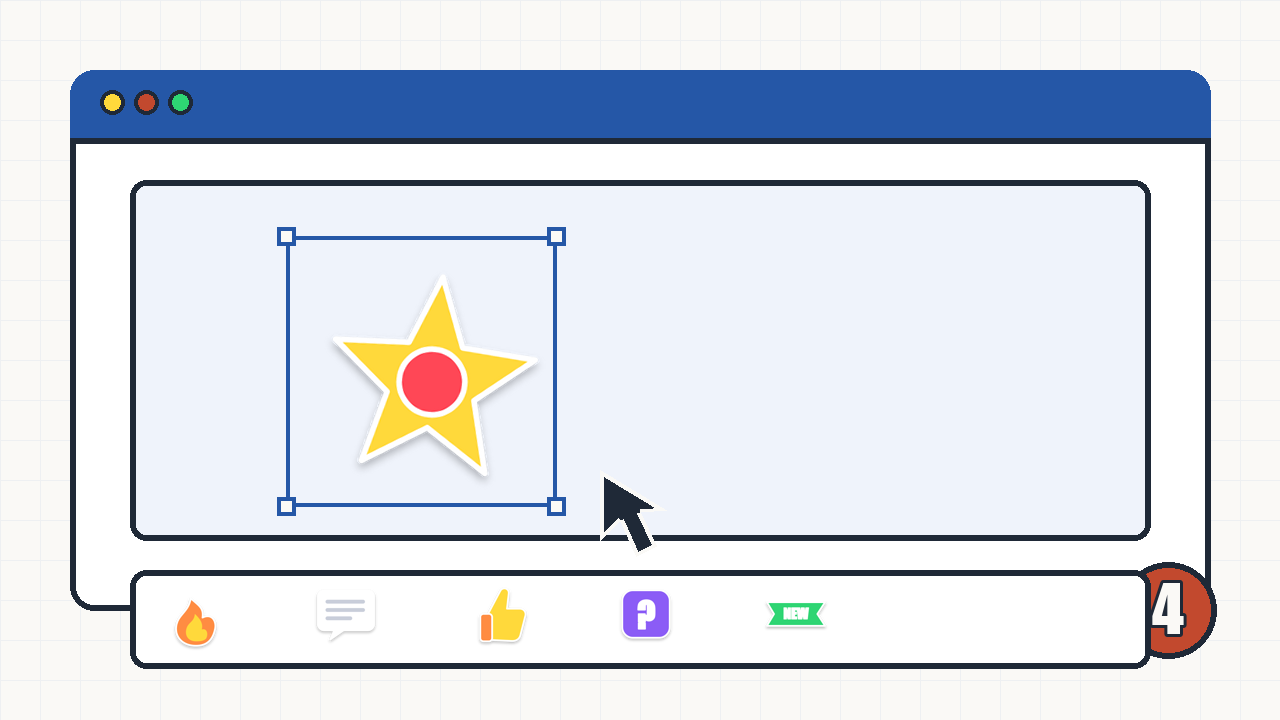
Step 4 — Add one sticker, then stop
One arrow, one highlight circle, one burst — placed where you want the eye to land. Three stickers competing for attention cancel each other out, and the thumbnail starts reading as spam rather than as a game.
Drag the headline and the sticker around until the composition balances. A useful check: shrink your browser window until the canvas is about 200 pixels wide. If you can still tell what the image is about, it will work in the grid.
Step 5 — Export at the official size and upload
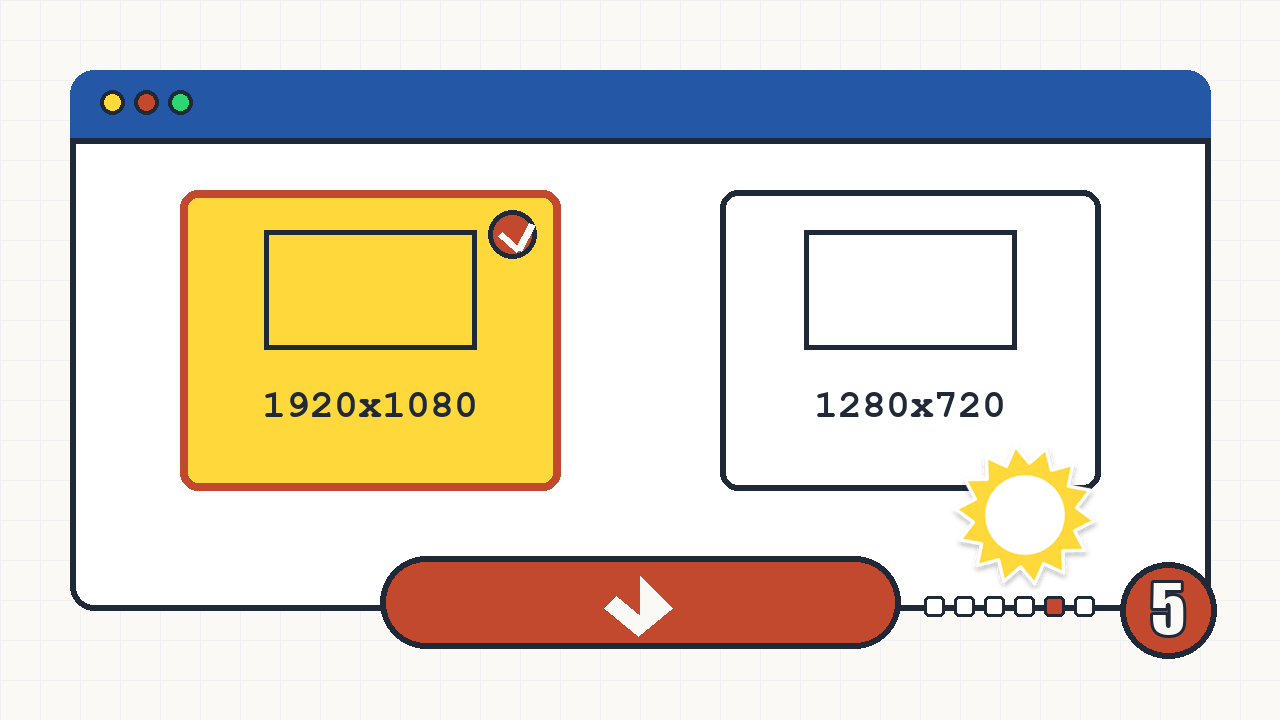
Export 1920×1080. That is the resolution the Roblox Creator Hub documentation recommends, and the 16:9 ratio matches the slot so nothing gets letterboxed. Keep the PNG under 3 MB — normal exports sit well below that.
- 1Go to the Creator Dashboard and open your game.
- 2Open Configure → Places and select the start place.
- 3In the left nav choose Thumbnails, then Upload thumbnails.
- 4Pick your PNG, confirm, and wait for moderation to clear it.
For an icon, use 512×512 instead — switch the export size in the same tool and the layout carries over. Full numbers live in theRoblox thumbnail size guide.
Why not use an AI generator instead?
Sometimes you should — if you have no usable screenshot and need a scene from nothing, a generator is genuinely the faster path. But for a thumbnail of a game that exists, starting from your own capture has two advantages: the image always matches what players will find when they join, and you control every element instead of re-rolling until one variant happens to work.
The alternatives comparison goes through when each approach is worth the time. For the opposite trade — effects and text on your own capture, nothing generated — thethumbnail maker without AIis this same editor with the generator switched off, and aRoblox GFX makercovers the neon-outlined look those renders are imitating.
When you need this workflow
Anytime the artwork shown to players stops matching the game itself — a new launch, a redesigned level, a season reset, or a title that never read well in the first place.
- ▸A new place has only the auto-generated screenshot.
- ▸You rebuilt a course and the old image is misleading.
- ▸You want one title style across every game you publish.
- ▸You need a matching YouTube thumbnail from the same capture.
The workflow in one line each
Everything below happens in a single browser tab.
- 1Capture during action, with UI hidden and at native resolution.
- 2Drop the file into the editor — it is read locally, never uploaded.
- 3Write six words or fewer and pick a bold preset.
- 4Add one sticker and nudge the headline until it reads at 200px.
- 5Export 1920×1080 and upload it from the Creator Dashboard.
What to keep in mind
These are the constraints that catch people out.
- !Nothing is saved — export before closing the tab.
- !No background removal, upscaling or AI generation.
- !Only use images you have the right to use.
- !Moderation still applies: a correct size can be rejected for content.
- !Your composition must survive being viewed at 150–200px wide.
›What size should a Roblox thumbnail be?
1920×1080 pixels at 16:9, which is the size Roblox documents for game thumbnails.Every official size and slot spec
›How do you make a thumbnail for a Roblox game?
Capture a screenshot inside the game, open the editor, load the capture, type a headline of six words or fewer, then export at 1920×1080 and upload that PNG through the Creator Dashboard game thumbnail slot. These are the same steps detailed above.
›Is there a Roblox thumbnail tutorial I can follow in one sitting?
Yes — this page is the tutorial. It takes about ten minutes end to end: five for the design, five for the upload and moderation wait. The video-link section covers making a cover from a YouTube gameplay link instead of a local capture.
›How do I make a thumbnail for free?
Use the editor on this site: upload a screenshot, add a headline and stickers, export PNG. It costs nothing, requires no account, and adds no watermark.
›Do I need Photoshop or a design app?
No. For a thumbnail you need three things — a screenshot, bold text with an outline, and the correct export size. All three are covered by a browser canvas.
›How many words fit on a thumbnail?
Six or fewer, ideally on one or two lines. At the width thumbnails occupy in discovery rails, anything longer stops being legible before it finishes rendering.
›Why does my thumbnail have white bars around it?
The image is not 16:9. Anything off-ratio is letterboxed into the slot. Recompose at 1920×1080 rather than cropping or stretching afterwards.
›How long does upload approval take?
Every image passes moderation before other players see it. Timing varies, so upload well before any update or event you are promoting.